
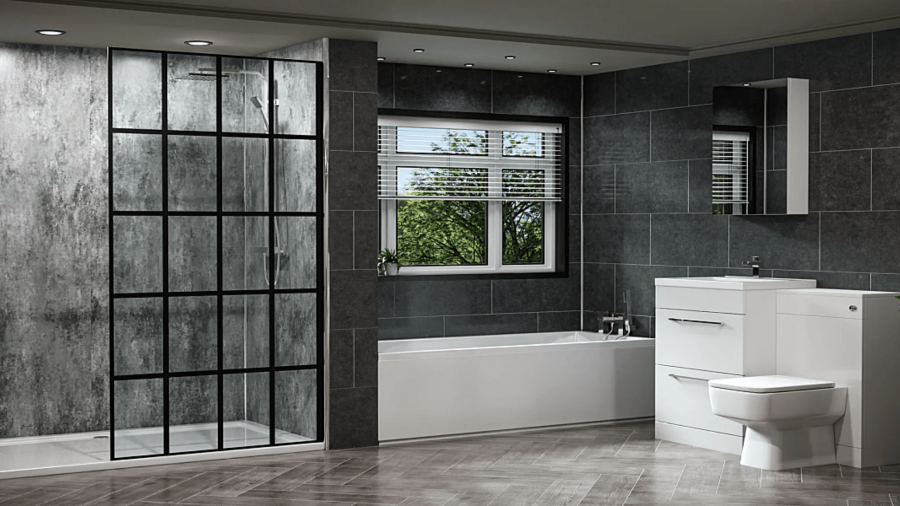
Sealing a shower screen is a crucial aspect of maintaining your bathroom’s functionality and aesthetics. A well-sealed shower screen prevents water from leaking out, which can cause water damage, mold growth, and hygiene issues. In this comprehensive guide, we’ll walk you through everything you need to know about sealing a shower screen, from the types of seals available to a step-by-step guide on how to apply them. Whether you have a curved shower screen seal, a folding shower screen over bath, or a standard glass shower door, we’ve got you covered.
Understanding different types of shower screen seals
Different types of shower screens require specific seals to ensure a watertight fit and effective protection against water leaks. Understanding these differences is key to a successful installation and maintenance of your shower screen. Here, we will explore the various types of shower screen seals available, their unique characteristics, and the applications they are best suited for.
Straight Shower Screen Seals
Straight shower screen seals are designed for use on flat, straight-edged shower screens. These are commonly used in traditional shower screens for baths or standalone showers. They provide a clean, straightforward seal that prevents water from escaping through the edges of the screen.
Benefits:
- Easy to install
- Widely available
- Ideal for most standard shower screens
Applications:
- Flat, straight-edged shower screens
- Shower screens for baths with standard designs
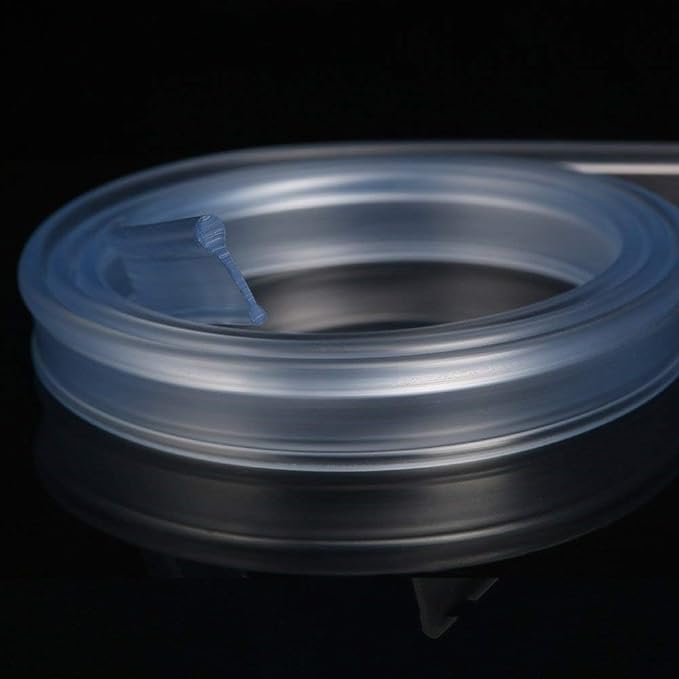
Curved Shower Screen Seals
Curved shower screen seals are specifically designed to fit the contours of curved shower screens. These seals are flexible and can conform to the rounded edges, ensuring a tight, leak-proof fit.
Benefits:
- Flexible and adaptable to curves
- Provides a secure, watertight seal
- Enhances the aesthetic appeal of curved shower screens
Applications:
- Curved shower screens in modern bathrooms
- Shower enclosures with rounded edges
Bottom Shower Seals
Bottom seals are used along the bottom edge of the shower screen to prevent water from leaking onto the bathroom floor. These seals can be straight or curved, depending on the design of the shower screen.
Benefits:
- Prevents water from escaping beneath the screen
- Protects bathroom flooring from water damage
- Available in various materials for durability
Applications:
- Bottom edge of shower screens
- Shower doors with significant water exposure at the base
Magnetic Shower Seals
Magnetic seals are used in shower screens with doors that close magnetically. These seals contain magnets that ensure the door closes securely, providing an additional barrier against water leaks.
Benefits:
- Ensures a tight closure for shower doors
- Prevents accidental openings
- Enhances the overall water resistance of the shower screen
Applications:
- Shower doors with magnetic closing mechanisms
- Shower screens requiring secure closures
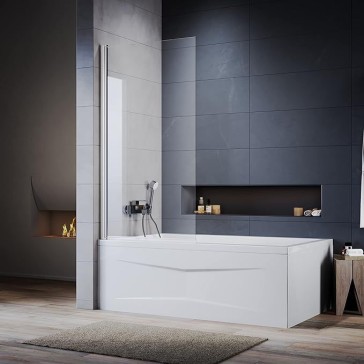
Folding Shower Screen Seals
Folding shower screen seals are designed for use with folding shower screens over baths. These seals need to be flexible to accommodate the folding mechanism while still providing a watertight barrier.
Benefits:
- Flexible to accommodate folding screens
- Maintains a watertight seal even with movement
- Suitable for space-saving bathroom designs
Applications:
- Folding shower screens over baths
- Compact bathrooms where space is a premium
Choosing the Right Seal for Your Shower Screen
Selecting the appropriate seal for your shower screen depends on the specific design and functionality of your shower. Consider the following factors:
- Screen Shape:Determine if your screen is straight or curved.
- Screen Position:Identify if the seal is needed for the bottom edge, sides, or top.
- Closure Mechanism:Consider if a magnetic seal is necessary for doors that need to close securely.
- Movement:If your screen is folding, ensure the seal can accommodate the movement without compromising the seal.
Preparation: What tools do I needed to seal a shower screen?
Before you begin sealing your shower screen, it’s essential to gather all the necessary tools and materials. Having everything on hand will make the process smoother and more efficient.
- Silicone Sealant: Choose a high-quality, waterproof silicone sealant suitable for bathrooms.
- Sealant Gun: A sealant gun will help you apply the silicone evenly and accurately.
- Masking Tape: Use masking tape to create clean, straight lines for the sealant.
- Cleaning Solution: A good cleaning solution will ensure the surfaces are free of dirt and grime.
- Utility Knife: A utility knife will help you remove any old sealant and cut the new sealant tube.
Step-by-Step Guide: How to Seal a Shower Screen
Sealing a shower screen may seem daunting, but with the right approach, it can be a straightforward DIY task. Follow these steps for a professional finish.
Remove the Old Seal:
Start by gently pulling the old seal away from the bottom or side of the shower screen. If it’s stubborn, use a utility knife to carefully cut it away. Dispose of the old seal properly.
Clean the Area:
Use a cleaning cloth to thoroughly clean the area where the new seal will be fitted. Remove any soap scum, mildew, or debris to ensure the new seal adheres properly.
Measure the New Seal:
Measure the length of the shower screen where the new seal will be placed. Use the measuring tape to get an accurate measurement. Mark this measurement on the new seal.
Cut the Seal to Size:
Using scissors or a utility knife, carefully cut the new seal to the measured length. Make sure the cut is straight to ensure a snug fit.
Fit the New Seal:
Start at one end of the shower screen and gently press the new seal into place. If the seal is a push-fit type, simply push it onto the edge of the screen. For other types, you may need to slide the seal along the edge of the screen.
Ensure a Secure Fit:
Run your hand along the seal to make sure it is fully attached and there are no gaps. The seal should sit flush against the shower screen without any loose sections.
Test the Seal:
Once the new seal is in place, turn on the shower to test for leaks. Check both the bottom and sides of the screen to ensure the seal is working effectively.

Maintenance Tips for a Sealed Shower Screen
A well-maintained shower screen seal can last for years. Here are some tips to keep your seal in top condition.
Regular Cleaning Tips
Regular cleaning prevents soap scum and mold from building up around the seal. Use a mild cleaning solution and a soft cloth to clean the area regularly.
Periodic Inspection and Resealing
Inspect the seal periodically for signs of wear or damage. If you notice any issues, address them promptly to prevent leaks. Reseal the shower screen as needed to maintain a watertight seal.
Conclusion
Sealing a shower screen is an essential maintenance task that ensures your bathroom remains functional and free from water damage. By following the steps outlined in this guide, you can achieve a professional finish and enjoy the benefits of a well-sealed shower screen. Regular maintenance and periodic resealing will keep your shower screen in top condition, providing you with a clean, hygienic, and leak-free showering experience. Find more shower screen seal at Elegant Showers now!
FAQs
How Often Should I Reseal My Shower Screen?
It depends on usage and maintenance, but typically, you should reseal your shower screen every 1-2 years.
Can I Use Any Silicone Sealant for Shower Screens?
No, it’s essential to use a high-quality, waterproof silicone sealant specifically designed for bathrooms.
How Long Does the Sealant Take to Cure?
Most silicone sealants take 24-48 hours to fully cure. Check the manufacturer’s instructions for specific curing times.
What Should I Do If My Shower Screen Still Leaks After Sealing?
If your shower screen still leaks after sealing, check for missed spots or gaps in the sealant. Reapply sealant to any problem areas.
Can I Seal a Shower Screen Myself, or Should I Hire a Professional?
Sealing a shower screen is a manageable DIY task for most homeowners. However, if you’re unsure or encounter difficulties, hiring a professional is always an option.


Validate your login